
Email account setup in Mail app for iOS (SMTP/IMAP)
Email clients, like ‘Mail’ in Apple iOS, allow you to easily check your emails without Webmail (web-interface). This tutorial will help you to configure your Email accounts in ‘Mail’ for iOS 9.
Step 1. Open Settings app.
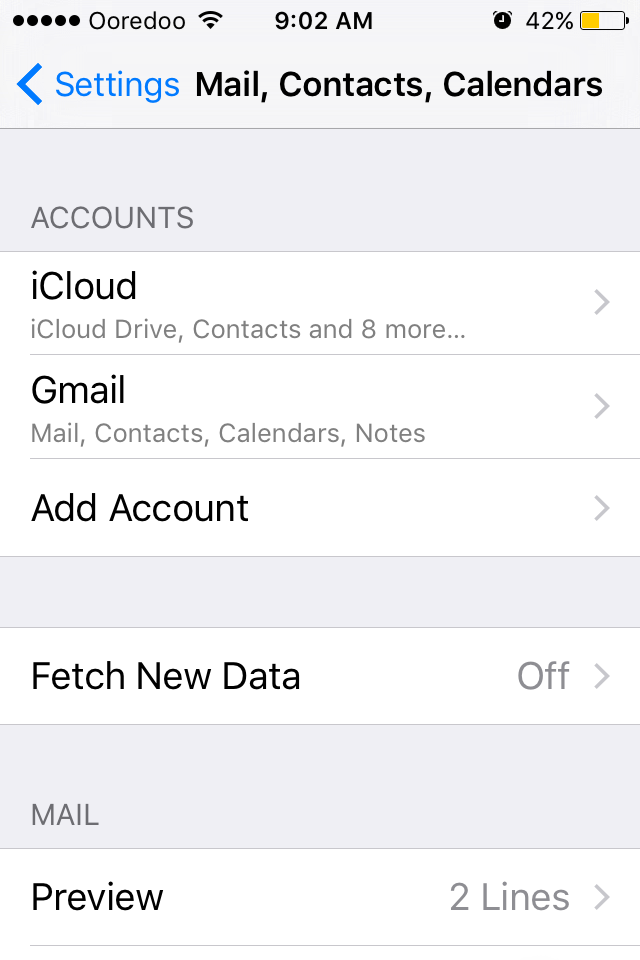
Tap Mail, Contacts, Calendars
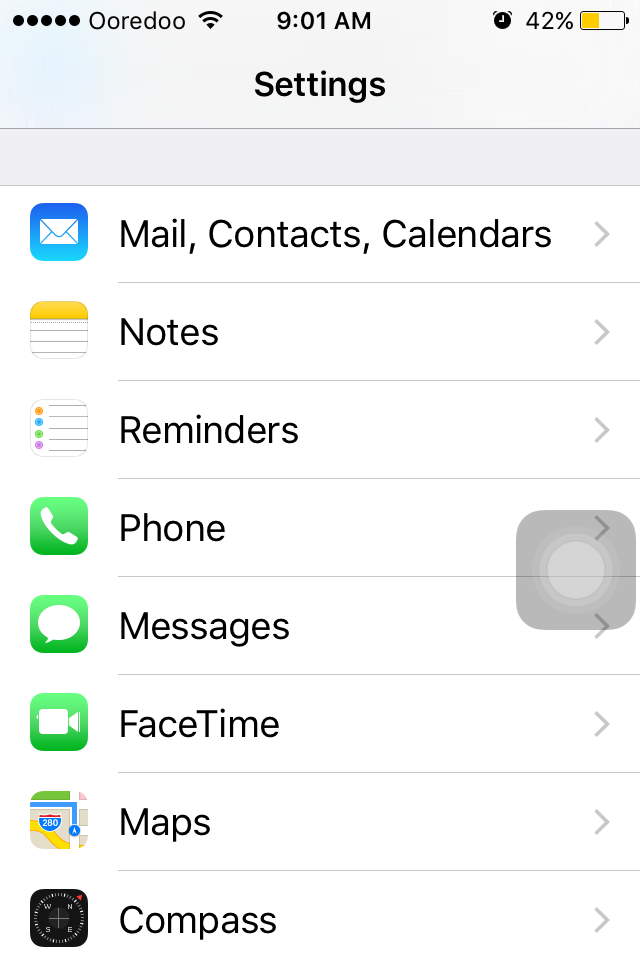
Step 2. Tap Add Account
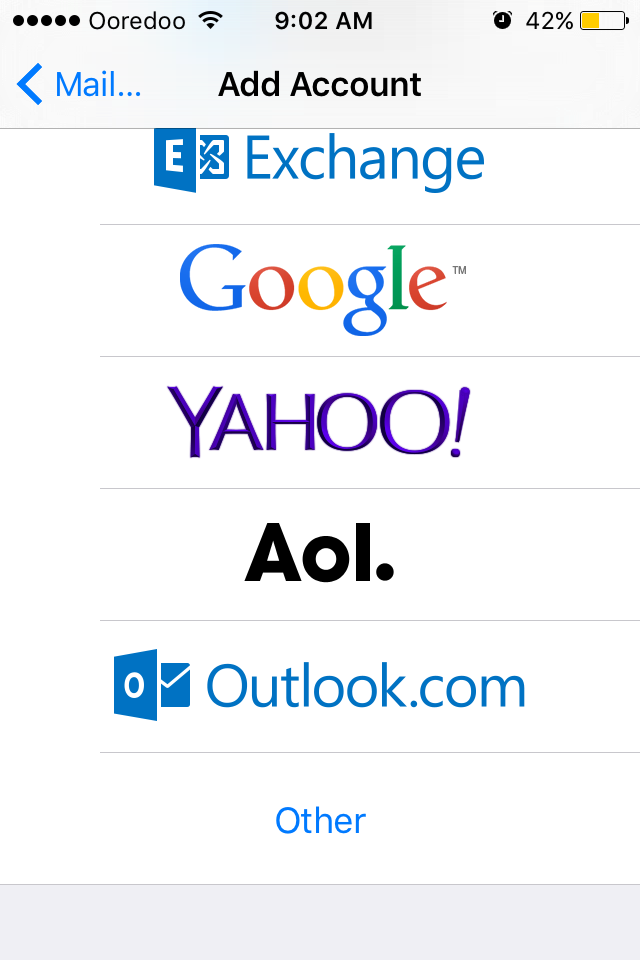
Step 3. Tap Other
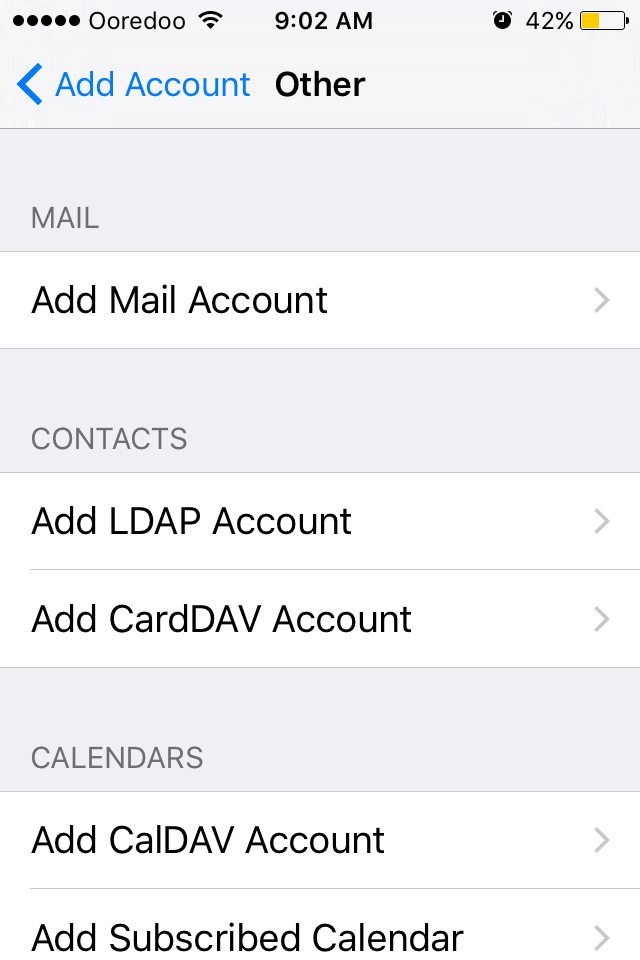
Step 4. Tap Add Mail Account
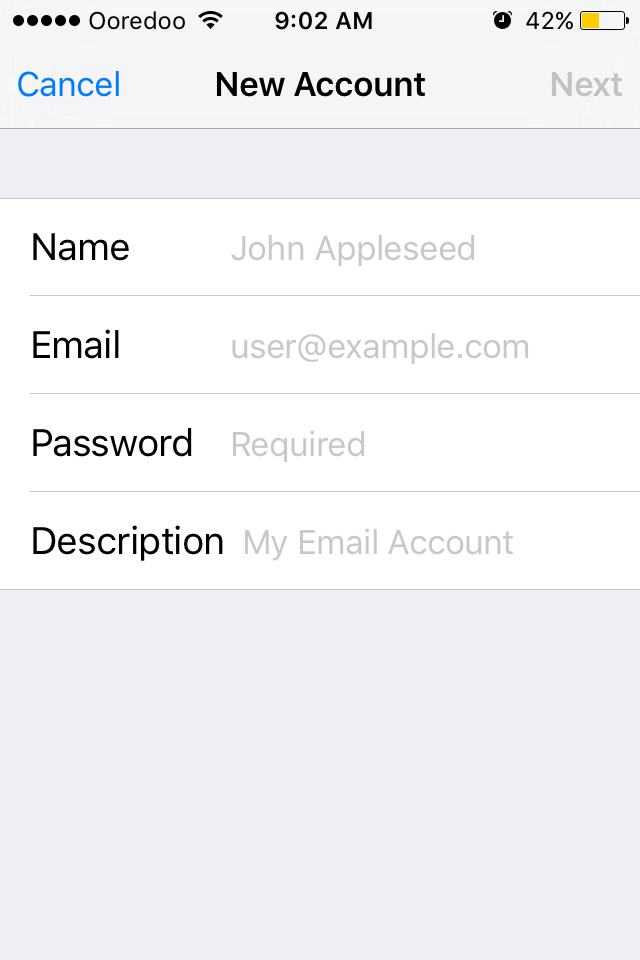
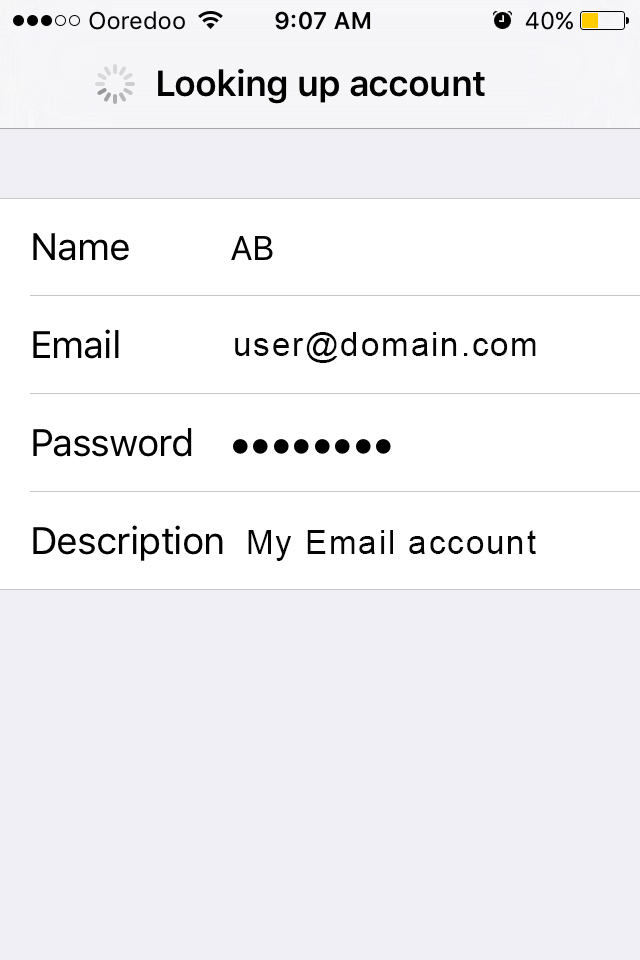
Step 5. In the New Account window enter the following details:
- Name: the name you would like the recipients of your emails to see.
- Email: your full Email address.
- Password: password for your Email account (make sure you do not have blank spaces in it).
- Description: Any information to describe your account
Once all the fields are filled, tap Next
| Fig.1 | Fig. 2 | |
|---|---|---|
 |
 |
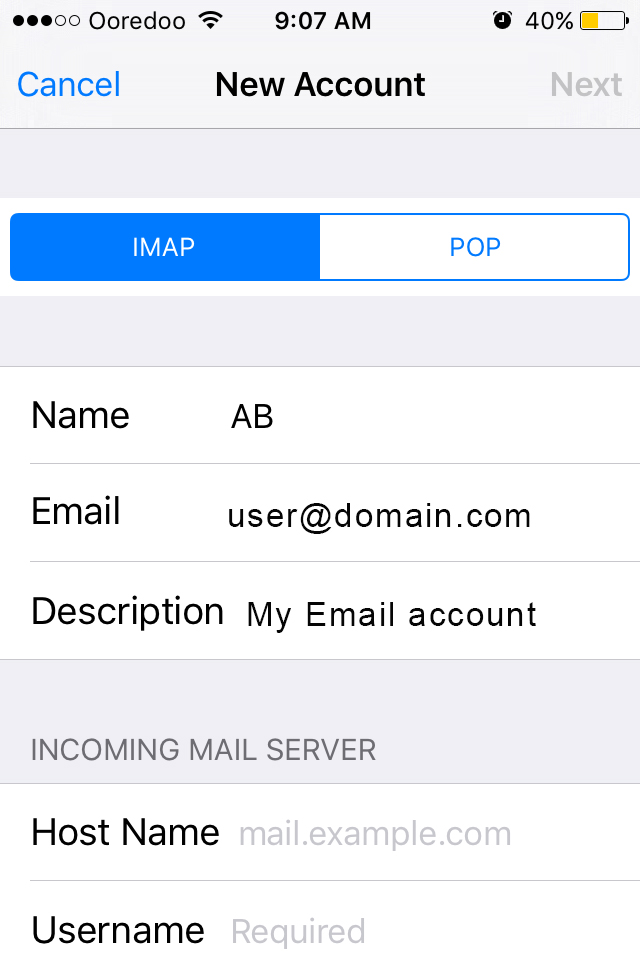
Step 6. In the succeeding New Account window enter the following details:
Choose IMAP
- Name: the name you would like the recipients of your emails to see.
- Email: your full Email address.
- Description: Any information to describe your account
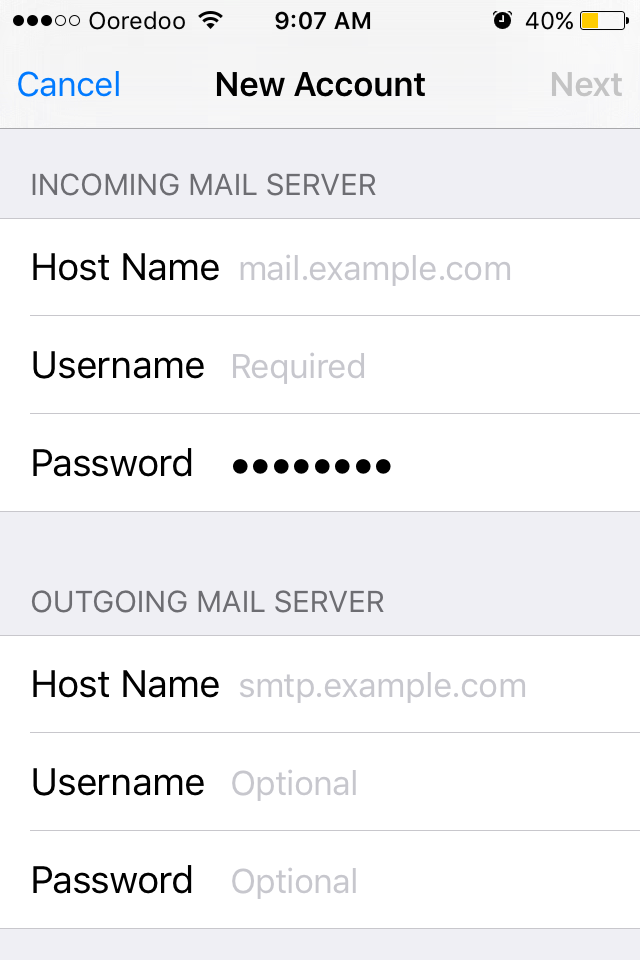
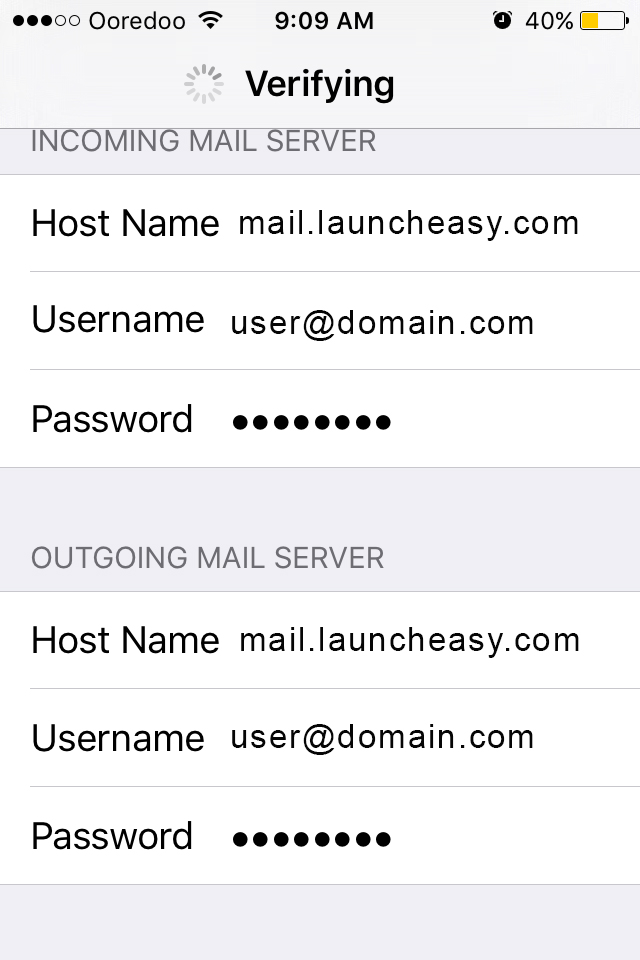
Incoming Mail Server: Host Name – mail.launcheasy.com , Username – your full Email address, Password – password for your Email account
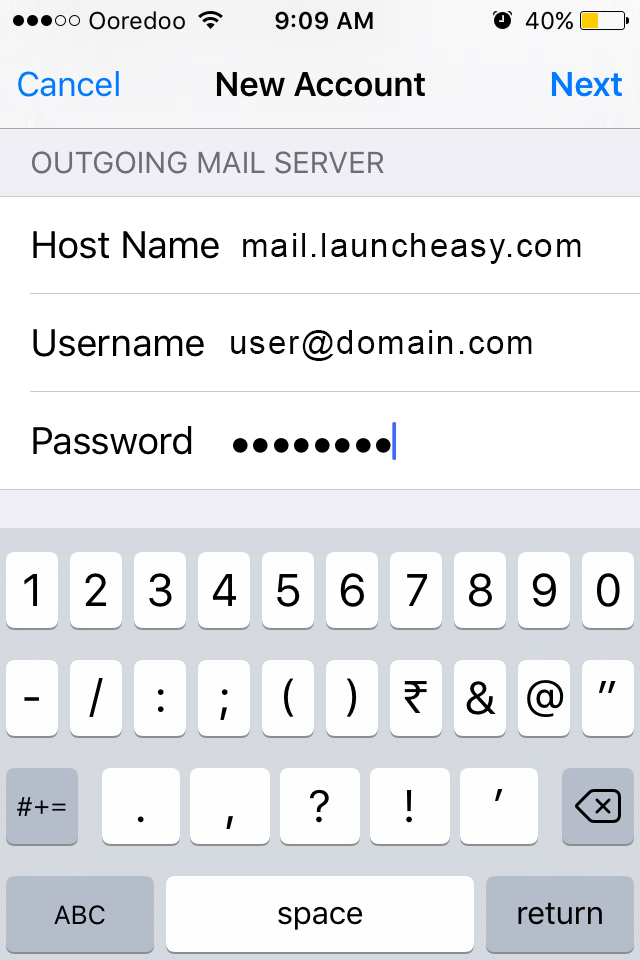
Outgoing Mail Server: Host Name – mail.launcheasy.com, Username – your full Email address, Password – password for your Email account
Once all the fields are filled, tap Next
| Fig.3 | Fig. 4 | Fig. 6 |
|---|---|---|
 |
 |
| Fig.7 | Fig. 8 |
|---|---|
 |
 |
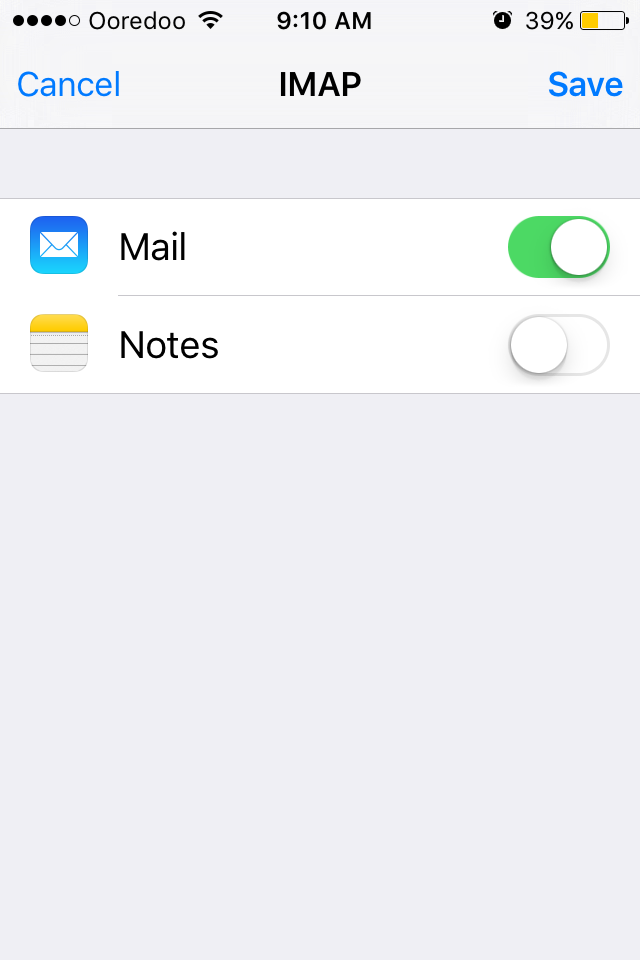
Step 7. Select the desired options and tap Save.
| Fig.9 | Fig. 10 |
|---|---|
 |
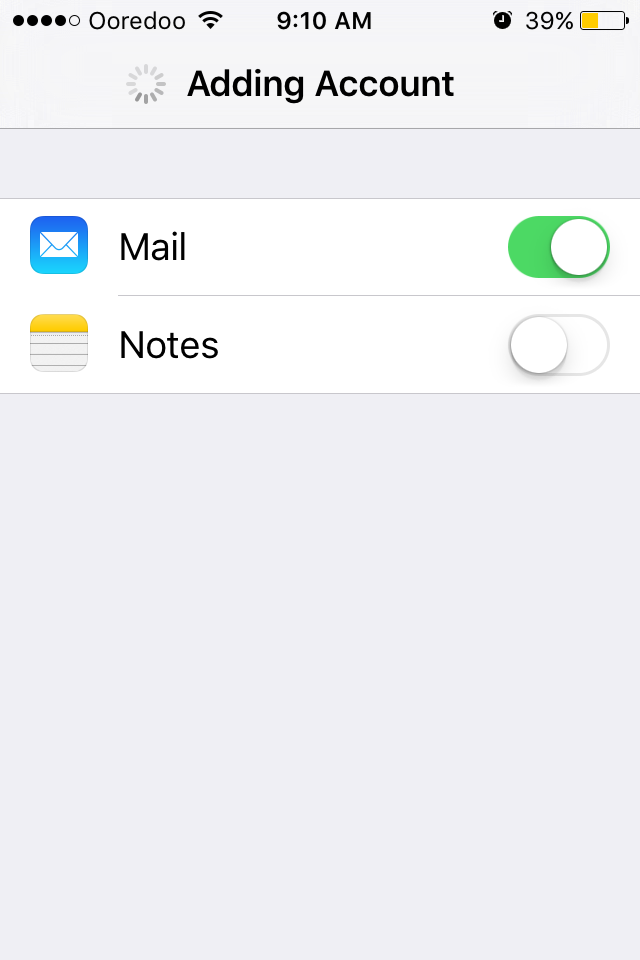 |
Step 8. That’s it! Your account is now set up.